Set up the minimap and add minimap icons
Overview
The minimap helps the player to orientate in areas, and highlights important things such as NPCs, dungeon entry points, or connections between worlds.
How to set up the minimap
For the minimap to work correctly in an area, you need to set up the following parts:
How to set up the minimap area name
Open the scene, for which you want to set up the minimap area name
Create a new
game objecton the hierarchy

Add the
Minimap Area Namescript and aBox Collider 2Dcomponent to the created game object

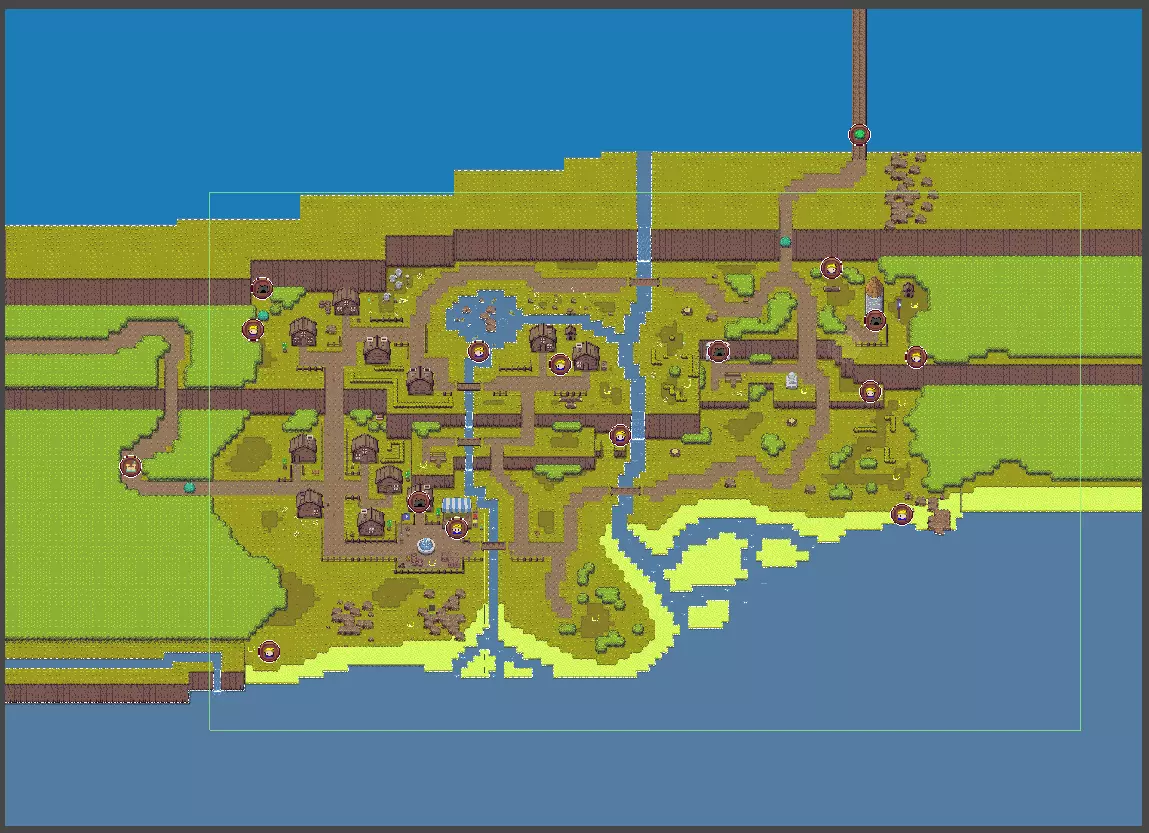
Adjust the trigger area of one
Box Collider 2Dcomponent using theEdit colliderbutton in such a way that it covers the entire area
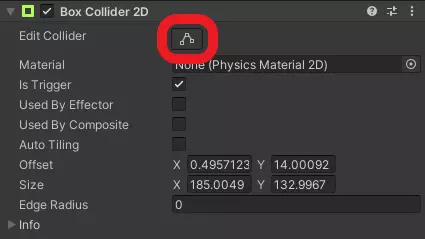

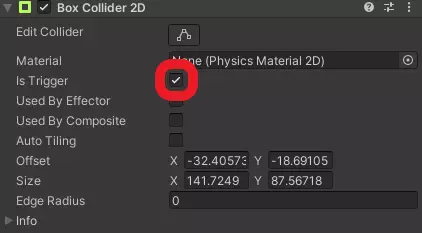
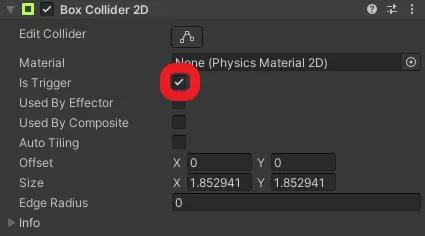
Set the
Is Triggerflag at theBox Collider 2Dcomponent

Set up the
Minimap Area Namecomponent by adding the name of the area as theArea Nameattribute

How to set up the minimap icons parent object
Open the scene, for which you want to set up minimap icons
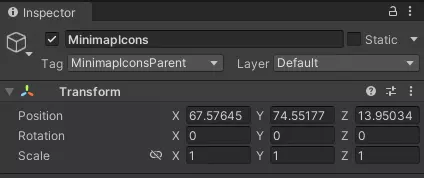
Create a new
game objectcalledMinimapIconson the hierarchySet the
Tagattribute in theInspectortoMinimapIconsParent
If the area is a world, you also need to do the following:
Create a new
game objectas a child of theMinimapIconsgame object on the hierarchy

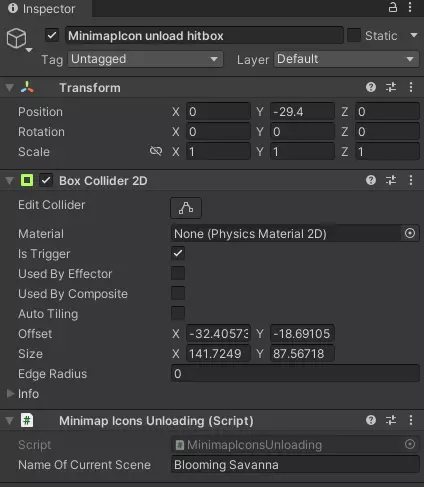
Add the
Minimap Icons Unloadingscript and aBox Collider 2Dcomponent to the created game object
Adjust the trigger area of one
Box Collider 2Dcomponent using theEdit colliderbutton in such a way that it covers the entire playable area area of the world
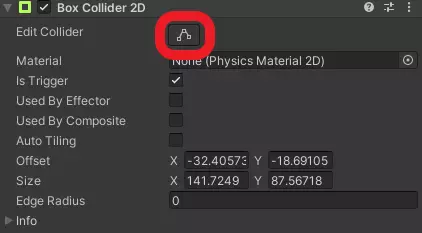
Set the
Is Triggerflag at theBox Collider 2Dcomponent
Set up the
Minimap Icons Unloadingcomponent by adding the area name as theName Of Current Sceneattribute

How to add minimap icons
You can add as many minimap icons as you want. Simply do the following:
Create a new
game objectas a child of theMinimapIconsgame object on the hierarchy

Add the
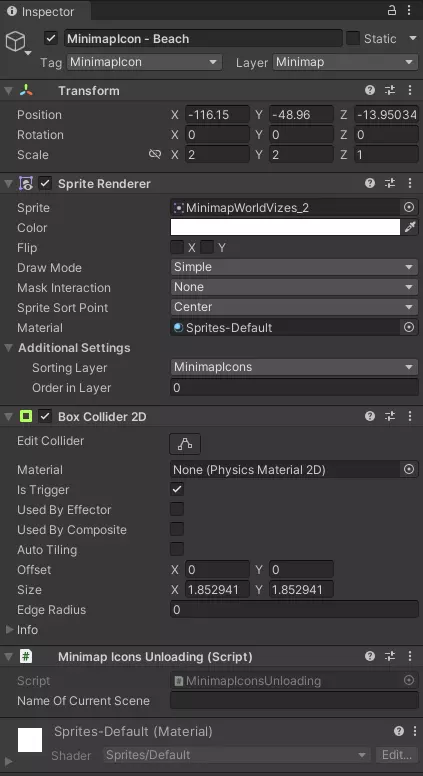
Minimap Icons Unloadingscript, aBox Collider 2Dcomponent and aSprite Renderercomponent to the created game objectSet the
Tagattribute in theInspectortoMinimapIconSet the
Layerattribute in theInspectortoMinimap
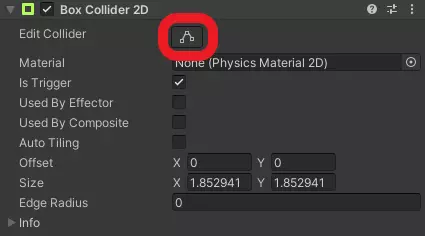
Adjust the trigger area of one
Box Collider 2Dcomponent using theEdit colliderbutton to cover the area of the minimap icon
Set the
Is Triggerflag at theBox Collider 2Dcomponent
Set up the
Minimap Icons Unloadingcomponent by leaving theName Of Current Sceneattribute blanc

You also need to set up the Sprite Renderer component.
Select a sprite as the icon you want as the
Spriteattribute.

Select in the
Sorting Layerdrop-down menuMinimapIconsThe
Order In Layerattribute has to be0
If you don’t want the minimap icon to be removed once you walked by it, for example because it shows the position of a NPC and therefor should always be active, you have to remove the Box Collider 2D component.