How to create a new World
This tutorial shows how to create a new area, just like we did.
This tutorial will be about creating a new world, but creating a dungeon works the same.
Tileset
Before starting to paint a world you need to think about in which theme the world should be.
We used the Zelda-like tileset for all our Worlds and made some modifications to it according to our own needs (including a few custom sprites).
See new tilesets for some info about how to change the look of the tileset.
This tutorial works with the standard Zelda-like tileset since it is already available in the project.
If you need another tileset, have a look at setup tilemap in unity.
Copying the Boilerplate Scene
Worlds are created in separate scenes. There is an empty Boilerplate scene which can be used to draw new worlds. It already has the grid and needed layers.
Copy the Boilerplate scene that is located in the folder
Assets/Scenes/Boilerplate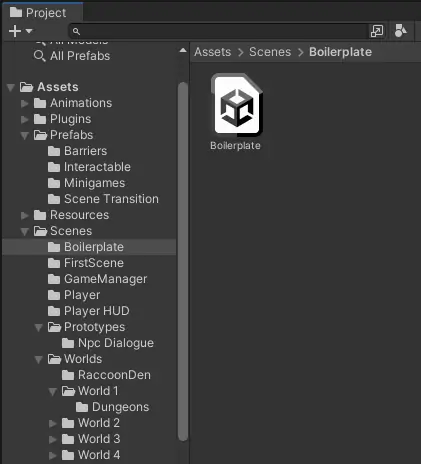
Create a new Folder in the
Assets/Scenes/WorldsFolder and name it for exampleWorld 5.Paste the copied boilerplate scene into the newly created folder and rename the scene to for example
World 5
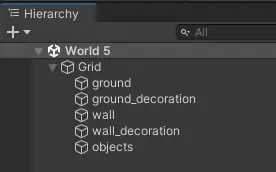
Layer Information
When painting a World there are multiple layers that can be painted on. It is necessary to paint on the correct layer for everything to work correctly.
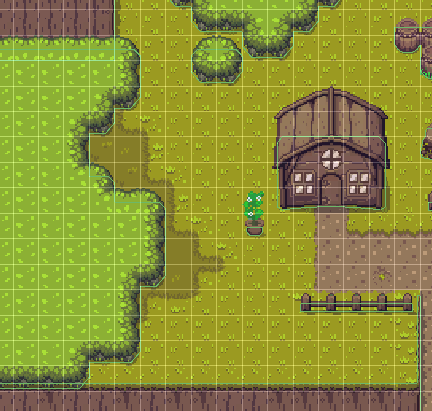
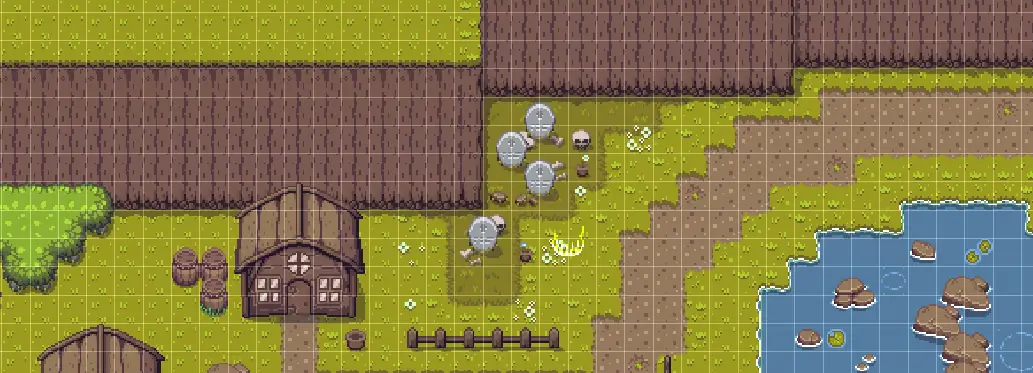
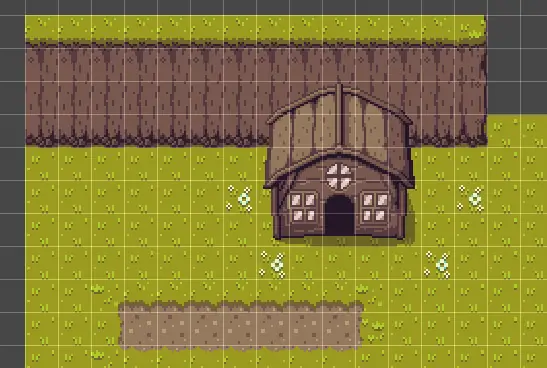
Here is an example for all the layers:
All layers combined:
Ground: On the layer, all ground related tiles are placed (e.g. grass, pathways, rivers, sea, …)
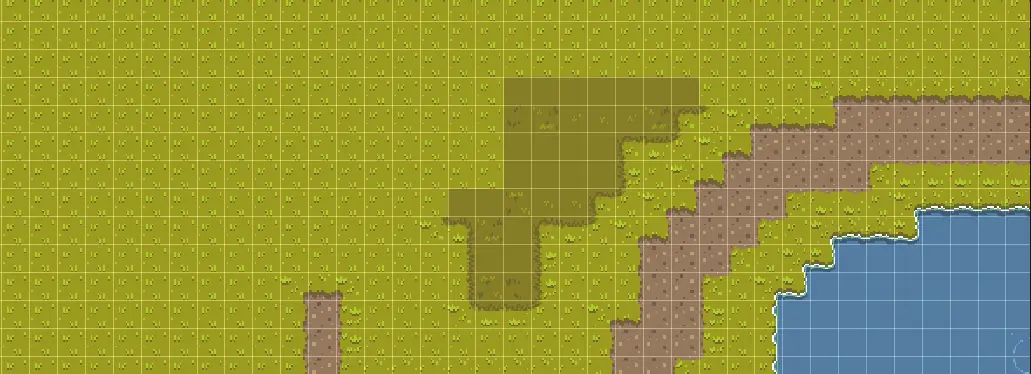
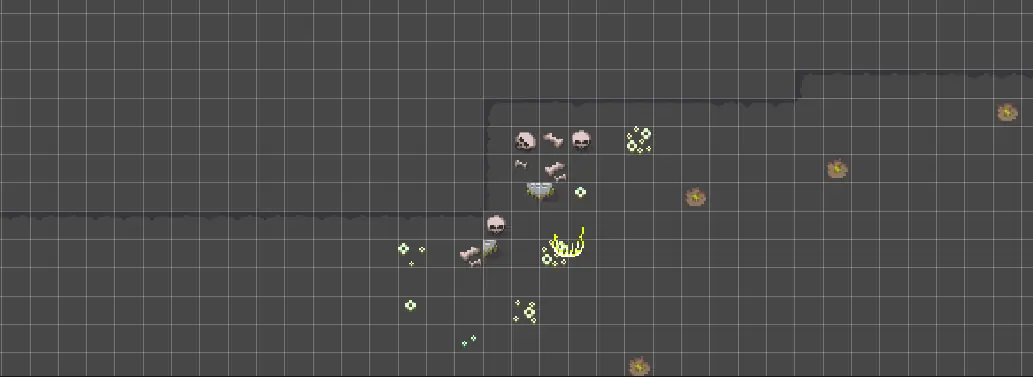
Ground decoration: On this layer, all additional ground tiles are places (e.g. flowers, moss, little rocks, …)
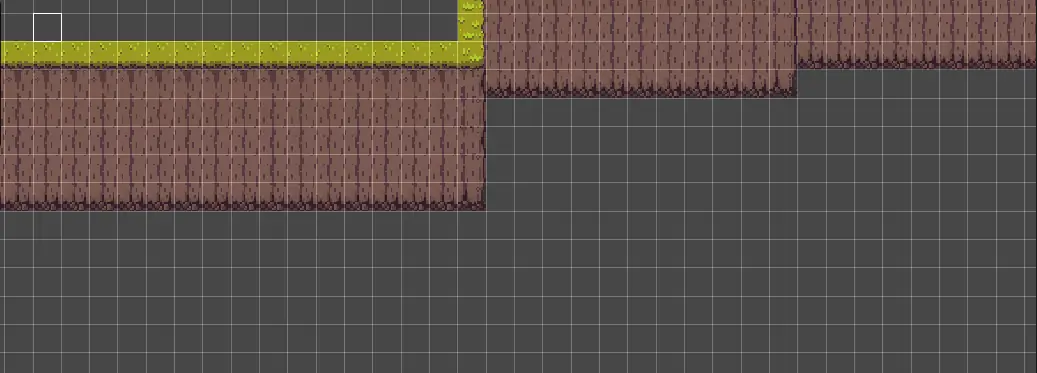
Walls: On this layer, all tiles limiting the playable area are placed (e.g. walls)
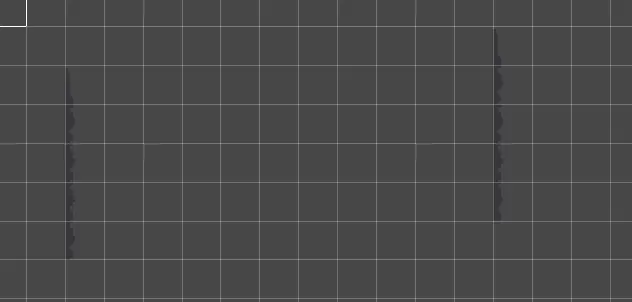
Wall decoration: On this layer, all additional wall tiles are placed, for example for detailing or realism (e.g. shadows, little rocks, lamps, waterfalls, …)
Objects: On this layer, all big objects are placed (e.g. trees, houses, fences, stones, …)

Start painting the World
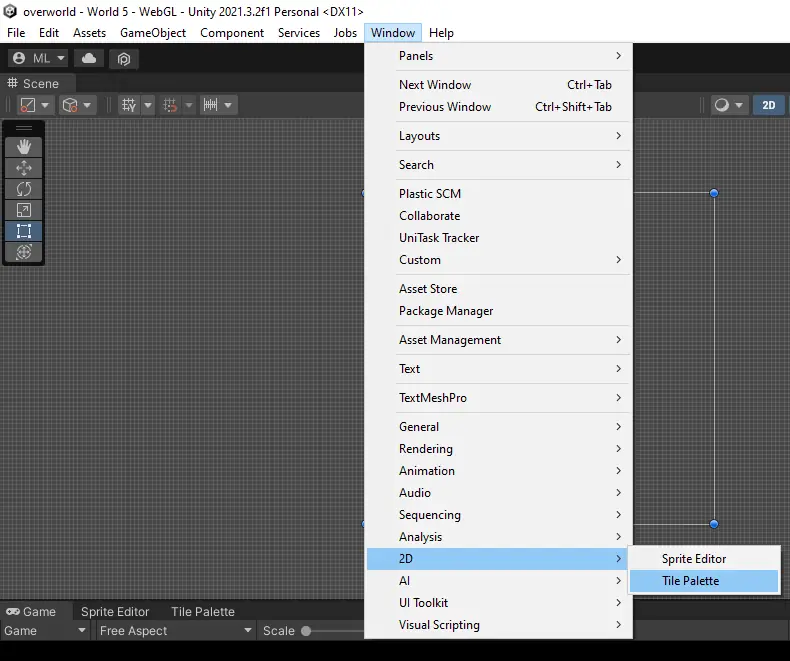
In Unity open the tile palette.
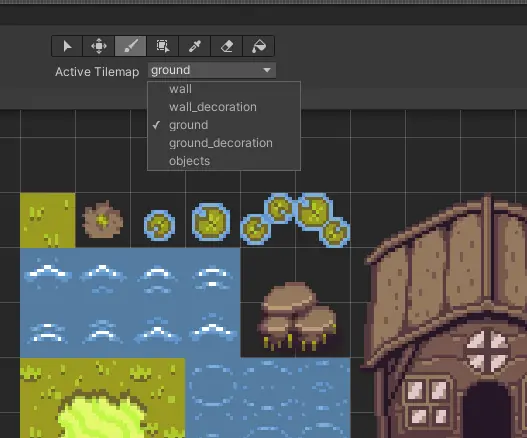
In the tile palette you can choose the tilemap you want to use for drawing. There are a few that were created by us.

Now you need to select on which layer you want to draw (see Layer Information)
There are different tools for drawing.
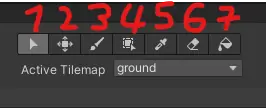
4.1 Select tool
4.2 Move tool (needed for editing the tilemap)
4.3 Standard paint tool. Paints the selected tiles to the selected layer.
4.4 Box paint tool to paint large area with select tile.
4.5 Pick tool for picking a tile of a layer.
4.6 Eraser for erasing.
4.7 Bucket tool for filling areas.With this info you can start creating your own World.
How to change colliders
If not specified, Unity generates colliders for each tile.
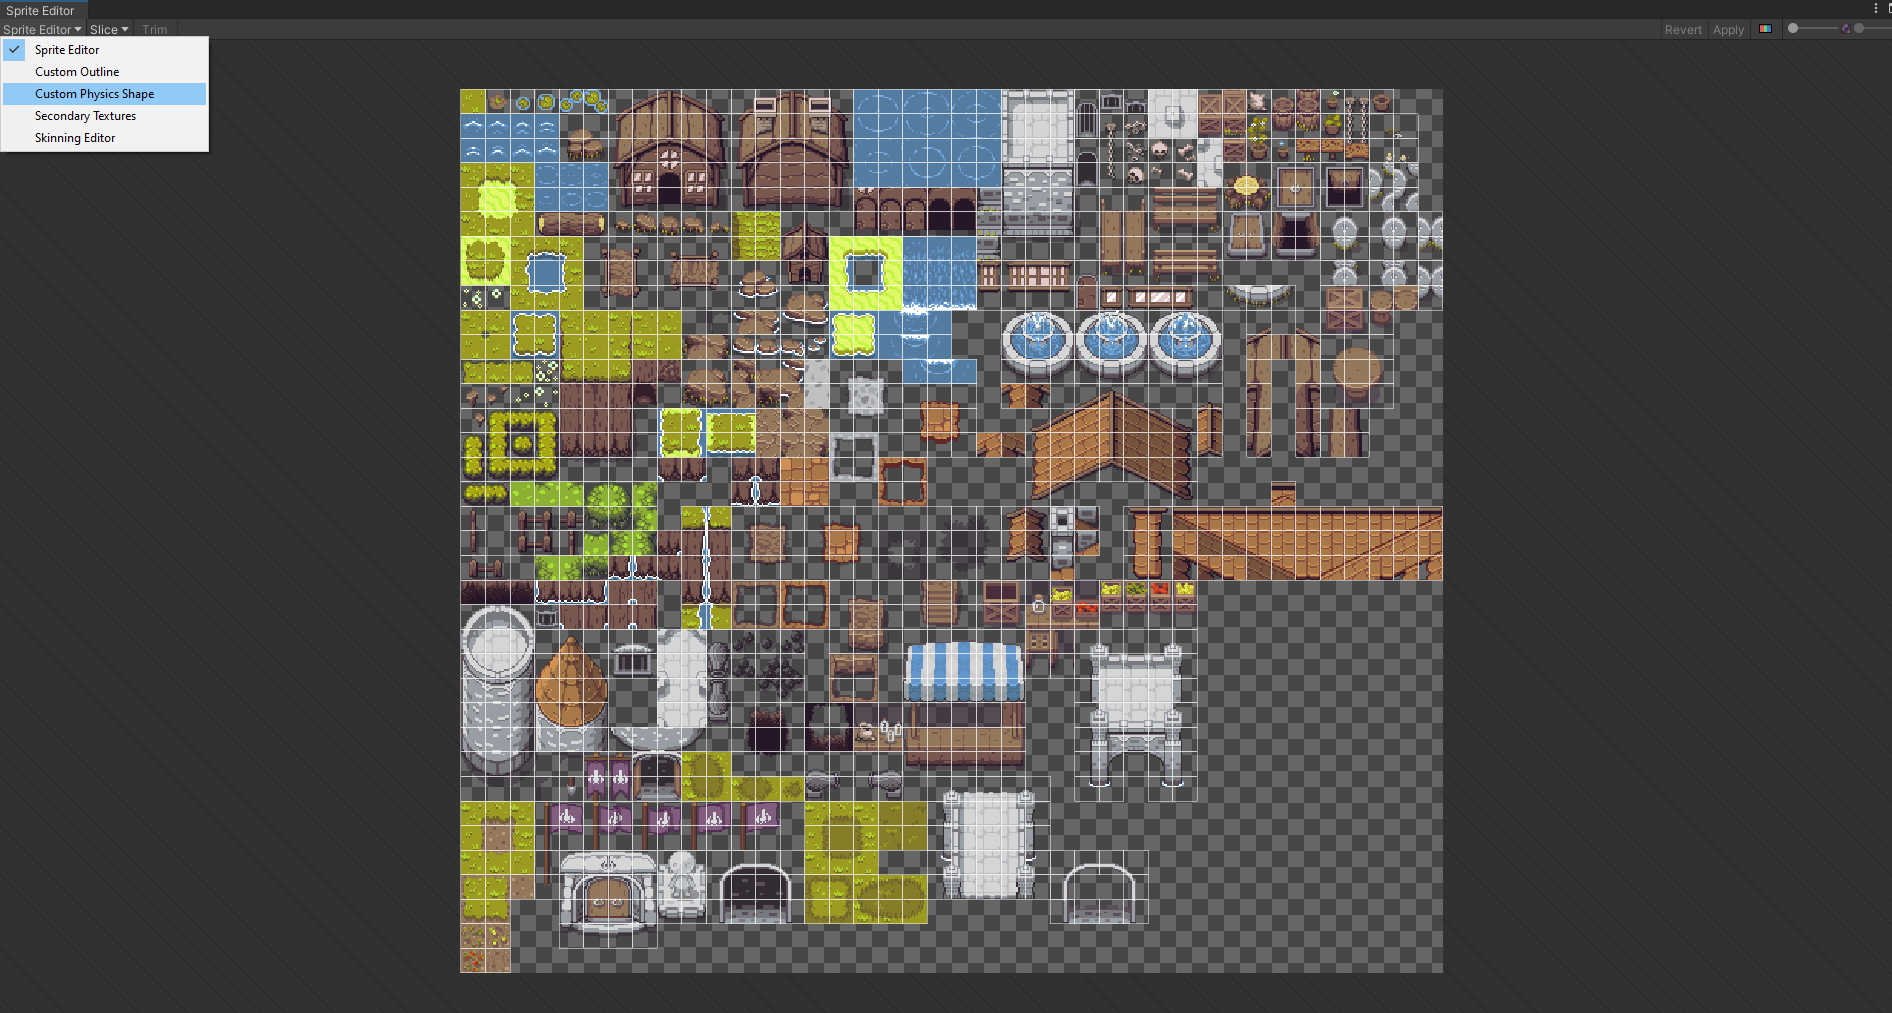
You can change these by opening the Sprite Editor on the inspector view of a tilemap. Simply click the Sprite Editor button.
![]()
Then switch to Custom Physics Shape in the drop down menu on the top left corner.
You can see what collider Unity would create by clicking on the Generate button
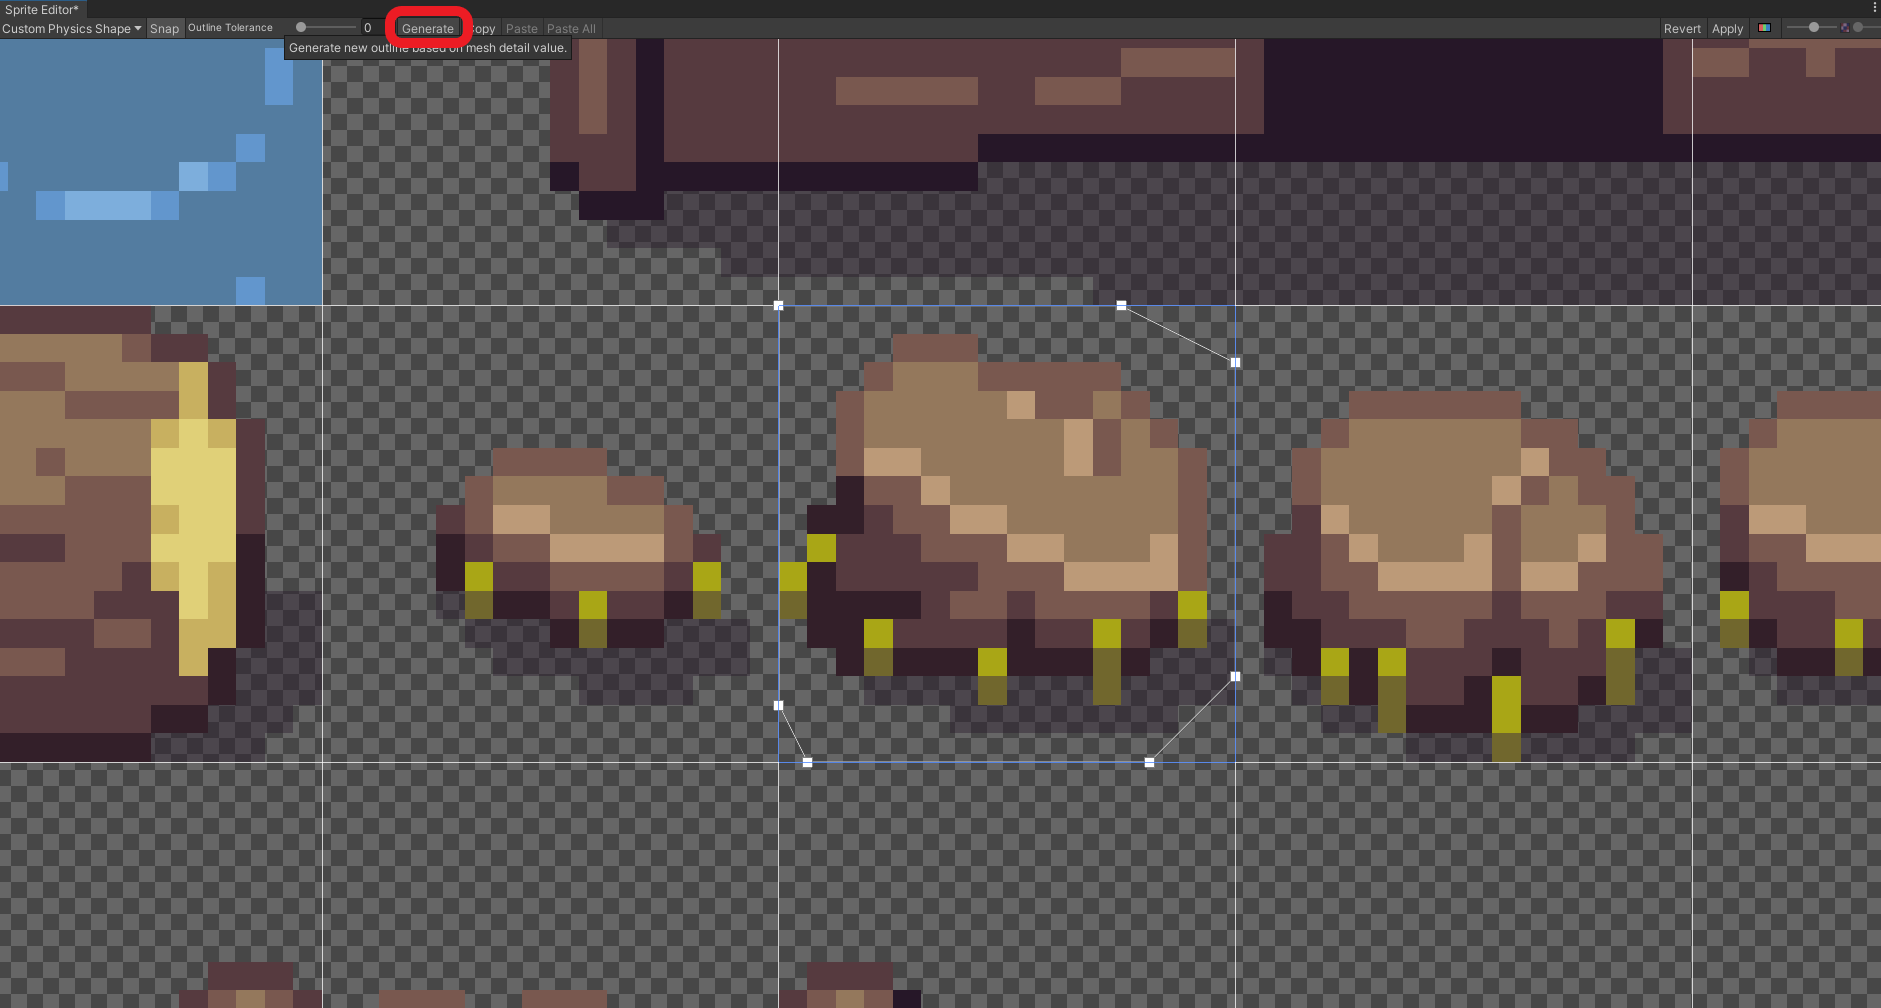
Then you can modify the collider by dragging the white dots around. You can add more dots by clicking on a line connecting two dots
or remove dots by clicking on it (highlighted in blue) and press the ENTF button on your keyboard.
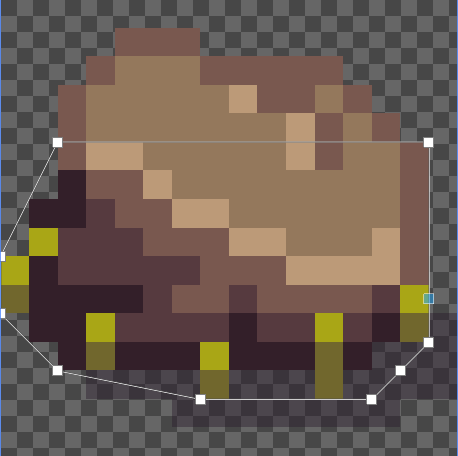
Once you are done, safe your changes by clicking the Apply button in the top right.
How to validate colliders
To check if the generated colliders are correct and meet your conditions, simply click on the Grid game object.
All colliders are then shown as green boxes in the Scene View.
For further testing you can walk around the created area with the player to check, if the collisions display a realistic behaviour.